Preparing your own sunken inground hot tub jacuzzi is a labor-intensive task and one that will take a bit of trial and error. On the other hand, it can also be very engaging and interesting. And the results are definitely bringing in a vast array of ideas for you to explore. The process of actually building the sunken inground hot tub jacuzzi can be a bit challenging, but it will offer you the experience and quality that you want. With that in mind, here are the things that you need to focus on here and what stuff you must do to achieve the right results.
Best Selling Models
-
 20% OFF!
Log Burner Hot Tub with Jets – TimberIN Rojal
From: €4,427From: €3,689 -
 Best seller!
Outdoor Whirlpool Royal Hot Tub
From: €3,203 -
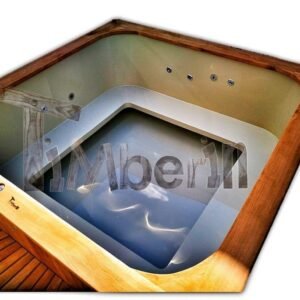 Spacious!
Square rectangular hot tub
From: €2,229 -
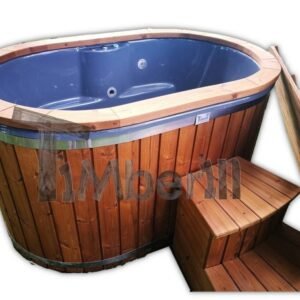 For 2 persons!
2 Person Hot Tub Wood Fired
From: €1,710 -
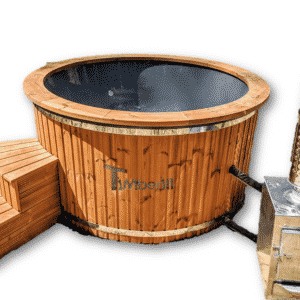 External burner
Wood heated Hot Tub
From: €2,199 -
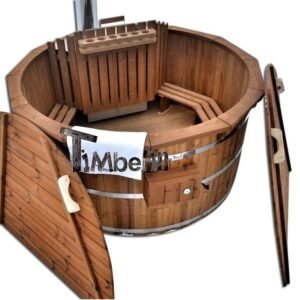
Barrel Wooden Hot Tub Deluxe thermowood
From: €2,743
Removing the top layer of the soil
You will start the process by removing the top layer of the soil. This will make it easy to actually prepare the foundation for your sunken inground hot tub jacuzzi. This can be a little intense, depending on the size of your hot tub. But it’s definitely worth checking out for yourself and adapting accordingly for the best results. You want to clean up all the dirt once you removed the top layer, so everything is cleaned up and ready for the next process. That’s what will give you the right approach and adequate experience, without worrying about any issues.
Concreting the base for a hot tub
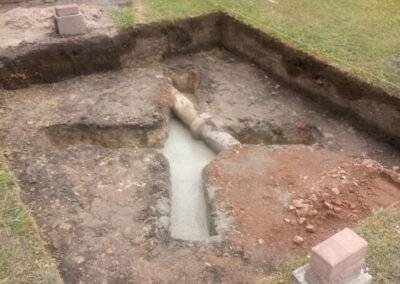
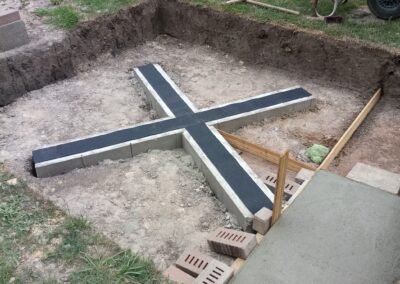
In order for you to have a stable base, you will need to use concrete. The below images clearly show that you will have to dig yet another hole for the first part of concrete to get into. Then you want to spread and create pretty much across, then fill that with concrete. It’s important for the tub to have a stable base, maybe a little lifted from the ground so you don’t need to worry about standing water or anything similar to that. The concrete cross is offering the perfect base for your entire process.
You will need to add the base pillars on top of the concrete so you can get a lot of stability. This helps a lot, it conveys a very good value and experience, and the results as a whole are very impressive and distinctive at the same time. Now you should have a large cross that you can use as the base for your sunken inground hot tub jacuzzi. It’s always important to have a durable base, otherwise, you can expect damage and issues, and all of those are things that you may want to avoid.
Positioning of the inground sunken hot tub
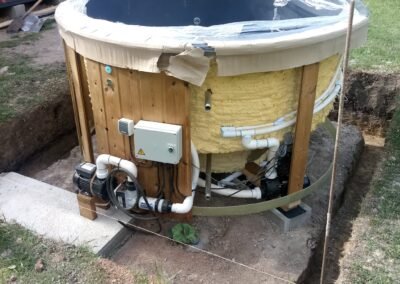
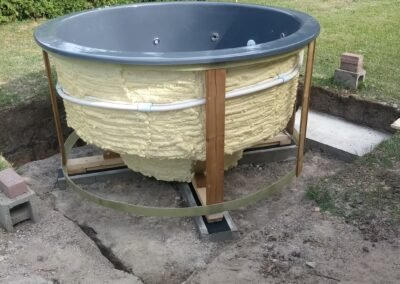
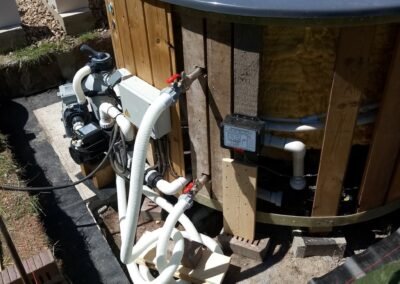
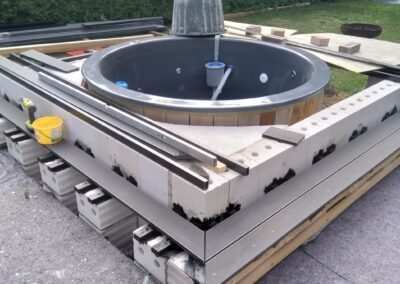
Once the basis and foundation of the entire system is completed, this is the perfect time to add the inground hot tub on top of the concrete cross. It’s important to keep in mind that the waterproofing material has to go between the wooden base of your tub and the concrete cross. Why do you need that? It helps you avoid wood degradation. Since the inground hot tub will be here for a long time, wood can degrade in time, and that’s definitely something to take into consideration in a situation like this. Ideally you want to have the unit sealed properly so you can prevent impurities from getting in the inground hot tub.
Building an outdoor terrace
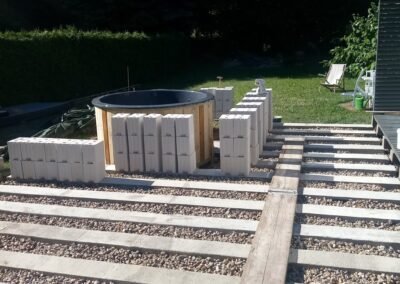
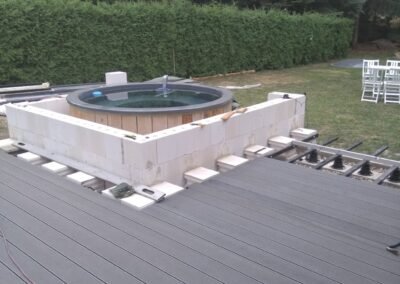
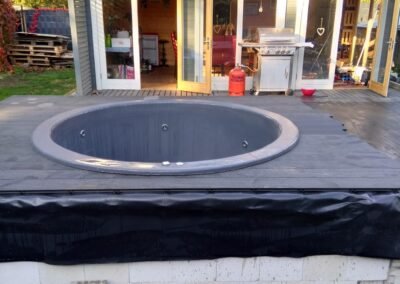
Now that the inground hot tub is prepared, what you need to do is to start working on the outdoor terrace. You will need to start by adding the concrete box and use them as the base for your terrace. You want to make the terrace quite a bit long, and it will deliver a very good experience and value.
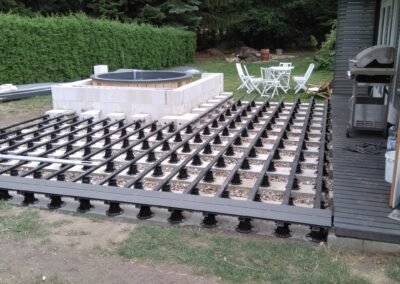
We recommend you put some gravel between the concrete blocks. This is important if you want to have good drainage, and the results you can get are pretty good. Install the WPC staves crosswise to the concrete base blocks. We recommend the composite staves because they are very good to use and they convey a lot of value and quality here. You want to add the staves at a distance from one another.
On top of that, you want them to be leveled out, this way you can be certain that the top panels for the terrace are not bending. You want them to be flat, so you can walk without worrying about your safety. Doing that is the best approach, and it’s definitely going to convey great results and tremendous value. It’s a good idea to test out the stability before you start adding anything on top. It will take a little trial and error to do this right, but the quality is there, and you just have to test it out for yourself.
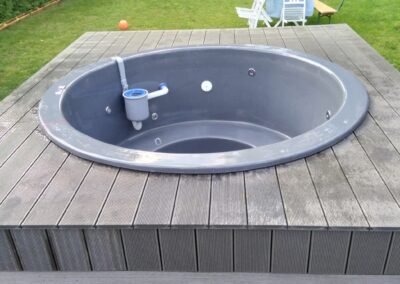
Installing the top composite panels
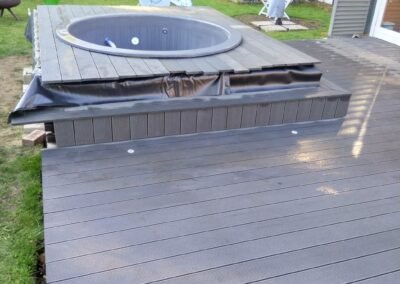
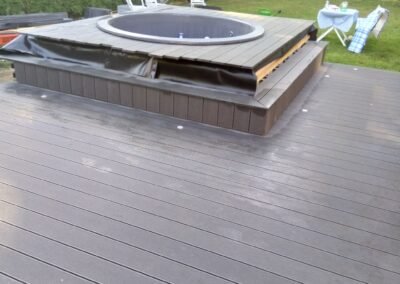
This is the time when you have to add the composite panels on the structure you just created earlier, after you tested everything and saw it was sturdy, your focus now is to ensure that you install the panels and use everything adequately. We recommend you test them out once you install a few panels to see if everything is evenly added and that there are no dipping spots or problems. That’s the crucial aspect to keep in mind.
Forming the rise for your sunken hot tub
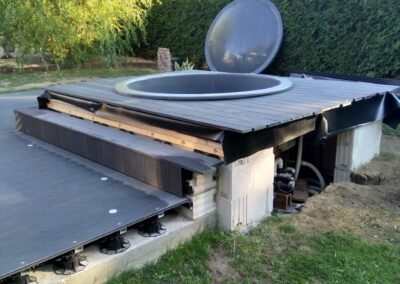
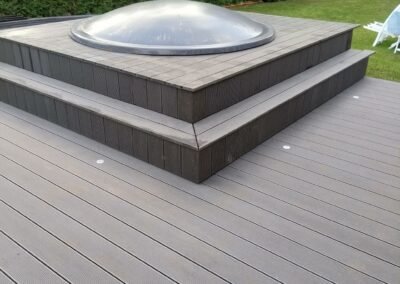
At this point, you want to start forming the rise for your inground hot tub so you can embed it properly. You want to add a step that helps you get in and out of the top without any issues. The system itself works very nicely, and you will make the process very convenient.
Final touches
Now you just want to add the final touches, the extra panels and then you will notice that the entire process is good to go. It helps quite a bit, and it conveys the type of value and experience you are interested in. That’s the right approach, and you will find that it works very well.
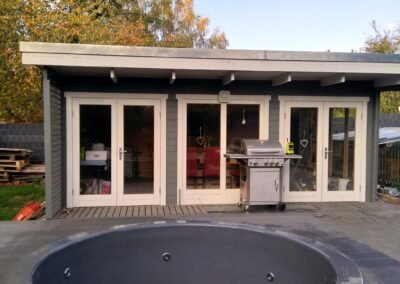
After you place all the final touches, everything is ready and you can go and enjoy your inground hot tub. This can take a little bit of work, but it’s totally worth the effort and you will appreciate the results quite a lot. Just make sure that you avoid any rush and truly focus on following the guidelines!


